
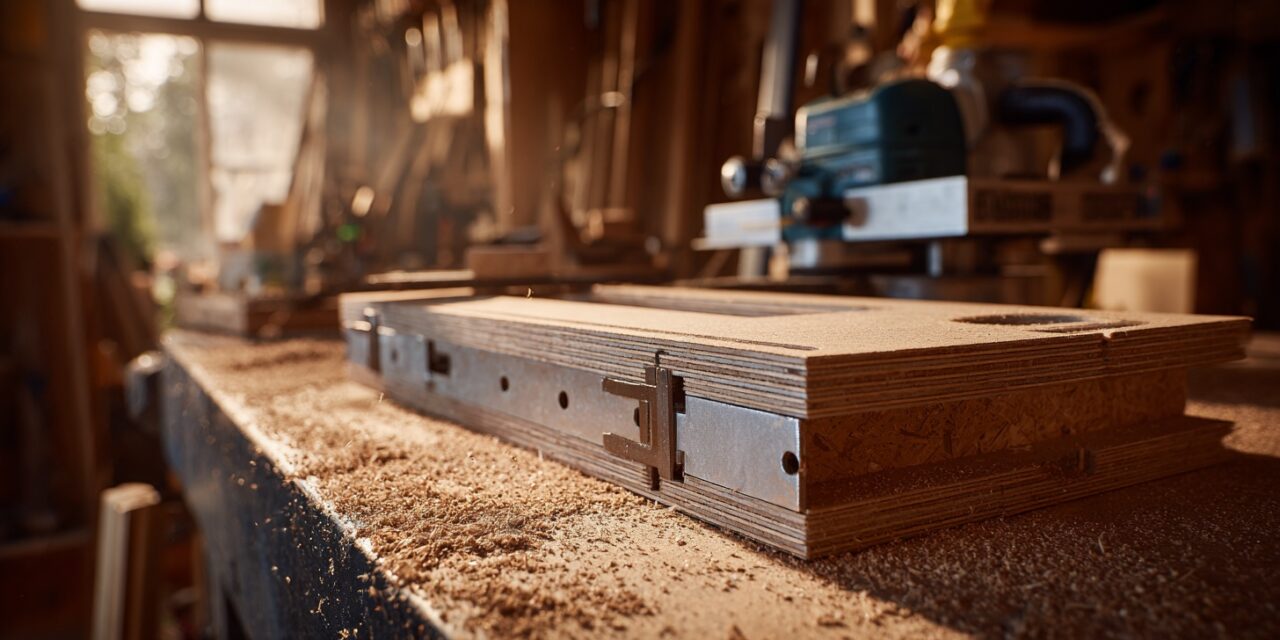
If you hang doors with any regularity — even just the occasional residential finishing project — you already know the hinge mortise is where things slow down. Getting three hinges perfectly aligned on both the door and the jamb, at consistent height, at consistent depth, is one of those tasks where a good jig goes from “nice to have” to “I don’t know how I lived without this.” The commercial versions work fine, but they’ll also run you $400–$500. For standard residential work with consistent hinge sizes, that’s hard to justify.
This guide walks you through building your own door hinge mortise jig from plywood and a couple of metal strips — the same style shown in the video below. Total materials cost is a fraction of the store-bought price, and the result is a jig that’s dialed in exactly to your hinges and your router setup.
Watch the Build First
Before diving into the step-by-step, watch this walkthrough of the finished jig in action. It’ll give you a good mental picture of how the pieces relate to each other before you start cutting.
Materials List
- 3/4″ plywood — one sheet is more than enough; you’ll be cutting strips
- Two lengths of 1/4″ U-shaped metal channel strip — available at most lumber yards or hardware stores
- Wood screws — 1-1/4″ and 1-5/8″ work well for 3/4″ ply assembly
- Wood glue (optional but recommended for the stop block)
- Pencil and marking gauge for layout
Tools List
- Table saw or circular saw — for ripping plywood strips
- Router with a guide collar (bushing) installed
- 1/4″ straight router bit
- Drill/driver
- Clamps — at least two, ideally four
- Tape measure and square
- Hand chisel — for squaring corners if you’re using square-shouldered hinges
- Sandpaper (150 grit) — to clean up the router running surface
Step-by-Step Instructions
Step 1: Determine Your Hinge Spacing
Before you cut a single piece of plywood, know your hinge positions. Standard residential interior doors in North America typically place hinges at 7″ from the top, 11″ from the bottom, and centered for the third. Measure and confirm against the doors you’ll actually be hanging — if all your doors are the same spec, you can build the jig once and use it indefinitely.
Write these measurements down. They’ll define the slot spacing on your jig.
Step 2: Cut the Main Jig Body
Rip a strip of 3/4″ plywood approximately 3–4 inches wide and 20 inches long. This is the primary running surface — the piece your router base collar will ride along.
Cut a second, shorter strip of the same width for the center hinge position. You don’t need a full continuous strip from top to bottom; you only need material where the hinges actually land, so the center section can be a separate piece bridged between the top and bottom hinge positions.
Step 3: Lay Out the Hinge Slot Openings
Mark the hinge slot locations on your plywood strip based on the measurements from Step 1. Each slot should be:
- Slightly longer than the hinge leaf — add about 1/8″ to allow router collar clearance on each end
- As wide as the hinge leaf — use your actual hinge as a template; trace it directly
The extra length is critical. Your router collar (bushing) rides against the interior walls of the slot opening. If the slot is exactly hinge-sized, the collar won’t fit. Size it so the collar can travel the full length of the hinge.
Step 4: Cut the Slot Openings
Use a jigsaw or scroll saw to cut out the three hinge slot openings. Work carefully — these openings are your template, so clean, straight cuts matter here. Sand the interior edges smooth after cutting.
If you’re using a drill press, you can bore overlapping holes at the corners first to give your jigsaw blade a starting point and cleaner corner radius.
Step 5: Attach the Metal Channel Strips
Press-fit or screw the U-shaped metal channel strips along the long edges of the plywood body. These serve two purposes: they protect the edges from router wear over time, and they give the router base collar a smooth, consistent surface to ride against.
Make sure the strips sit flush with the top face of the plywood — any lip above the surface will interfere with the router base.
Step 6: Build and Attach the Stop Block
Cut a short block from 3/4″ plywood — roughly 3–4″ long at the same width as your jig. This block attaches to the bottom back edge of the jig and acts as a registration stop. When you place the jig against a door or jamb, the stop block seats beneath the top of the door (or jamb), giving you the same starting position every single time.
Glue and screw this block in place. Mark the top of the jig clearly with a permanent marker or a routed label — you need to orient this correctly every time you use it.
Step 7: Label and Test on Scrap First
Mark “TOP” clearly on the top end of the jig. This ensures you always orient it the same way — top edge flush to the top of the door.
Before touching an actual door, clamp the jig to a piece of scrap lumber the same thickness as your door stock. Install your router collar and set the bit depth to match the thickness of your hinge leaf (usually around 1/8″ for standard residential hinges). Do a full pass through all three slots.
Check your test mortises with an actual hinge. You’re looking for a flush fit — the hinge leaf should sit dead flat in the recess with zero rocking. Adjust bit depth as needed until you nail it.
Step 8: Rout Your Door and Jamb
Once you’ve confirmed the setup on scrap, you’re ready for the real thing. Here’s the sequence:
- Align the jig’s top edge flush with the top of the door (or jamb top)
- Clamp the jig securely — one clamp at the top, one at the bottom
- Install your router with guide collar and 1/4″ straight bit, depth already set
- Rout each slot with steady back-and-forth passes, clearing material progressively
- Don’t try to hog it out in one pass — take two or three lighter passes to clean depth
- Repeat on the jamb using the same jig, same orientation
For square-cornered hinges, use a sharp chisel to clean the four corners by hand after routing. Takes less than a minute per mortise.
Pro Tips
Dial in your depth on scrap every time you change hinge brands. Even hinges labeled the same gauge can vary slightly between manufacturers. A test pass takes two minutes. A door that binds because the mortise is 1/32″ shallow is a much bigger problem.
Wax the metal channel strips. A light coat of paste wax on the metal edges lets the router collar glide smoothly with no friction drag. Your cuts will be cleaner and more consistent.
Use at least two clamps. One clamp at each end of the jig. If the jig rocks even slightly mid-pass, your mortise depth will be uneven and the hinge won’t sit flat.
Always rout the door first, jamb second. If you make an error on the door, you can sometimes adjust the jamb position to compensate. The other way around is much harder to fix.
Keep the collar installed even for simple setups. Without the collar, the router bit will wander. The collar riding against the slot walls is what gives you a clean, controlled mortise.
FAQ
What router bit do I need for this? A 1/4″ straight (spiral upcut) bit works well. Upcut geometry clears chips efficiently and leaves a clean mortise floor. Avoid cheap bits — a dull bit tears the wood fibers and makes a rough surface that the hinge won’t seat cleanly against.
Do I need a guide collar? Can’t I just freehand it? You need the collar. The collar rides against the interior edges of the jig’s slot openings — that’s what controls the router’s path. Without it, the router will wander outside the slot boundary and you’ll have a mess.
Can this jig work for both the door and the jamb? Yes — same jig, same orientation. Just make sure you’re always aligning the “TOP” edge the same way on both pieces. That’s how your hinge positions stay aligned once the door is hung.
What if my hinges have square corners instead of rounded ones? Route the mortise as normal, then use a sharp chisel to square the corners by hand. It takes maybe 30 seconds per corner and is standard practice even with commercial jigs.
Can I adapt this for different hinge sizes? Absolutely — just build the jig with slot openings sized for your specific hinge. If you work with multiple hinge sizes regularly, build a separate jig for each rather than trying to make one adjustable. The whole point is repeatability.
What’s the ideal plywood grade to use? Baltic birch is the best choice — it’s dimensionally stable, machines cleanly, and the voids-free core won’t crumble around the slot edges. Standard construction plywood will work in a pinch but may fray at the router contact points faster.
Conclusion
A store-bought hinge jig will cost you $400 and do the same job this plywood-and-channel-strip version does. If you’re hanging doors regularly — even just a few times a year — this build pays for itself the first time you use it. The key is taking the time to test your setup on scrap before committing to actual door stock, and always referencing the same “TOP” edge so your hinges line up every time. Once the jig is built and dialed in, three-hinge mortises go from a fussy, slow process to something you knock out in minutes per door.
Build it once. Use it for years.