
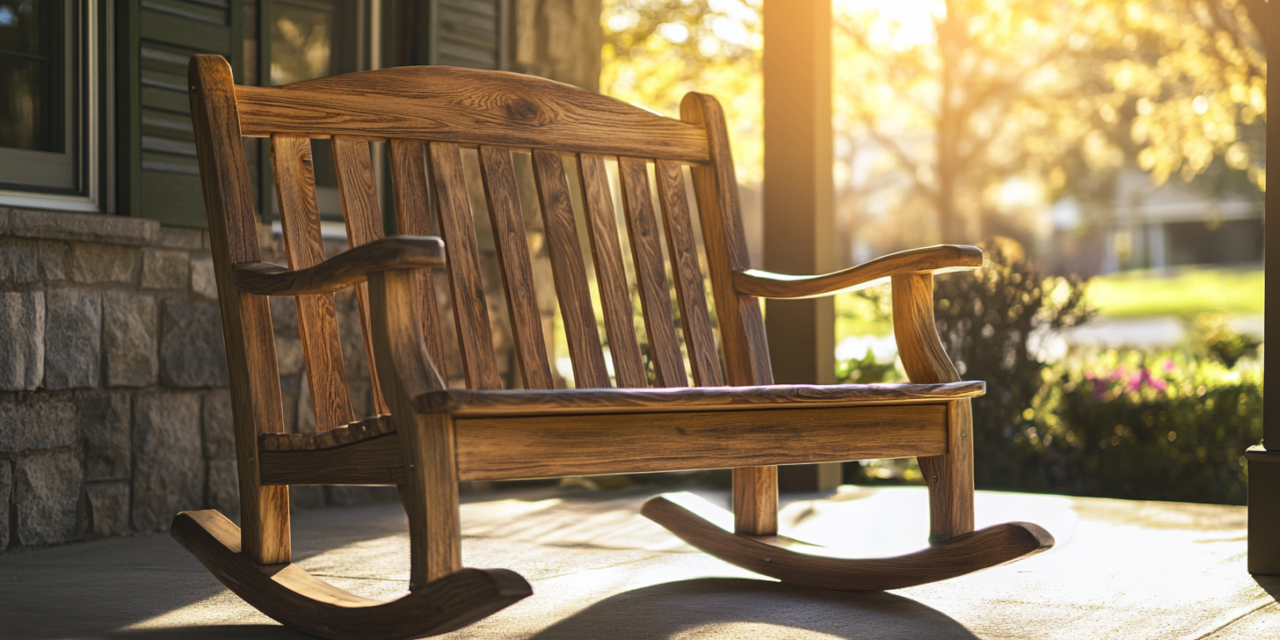
There’s something timeless about a glider rocker — the smooth, effortless motion, the solid craftsmanship, the way it invites you to slow down. Now imagine that in a love seat. A glider rocker love seat is a standout furniture project that combines functional engineering with classic woodworking, and the result is something you’ll use for decades. This isn’t a beginner’s first project, but it’s absolutely achievable for an intermediate woodworker with basic shop equipment and a willingness to work methodically. In this guide, we’ll walk through the full build process starting with the base assembly — the foundation everything else depends on.
Materials You’ll Need
- 2×4 lumber (the entire frame is built from standard 2×4 stock)
- Wood glue (standard yellow carpenter’s glue)
- Biscuits (#20 size recommended) — or dowels as an alternative
- Clamps (at least 4–6, bar clamps preferred)
- Sandpaper (80-grit through 220-grit)
- Wood filler
- Primer and exterior paint or stain/sealant (depending on indoor vs. outdoor use)
- Free downloadable plans (see note in intro — dimensions referenced throughout this article are from the standard love seat glider plan)
Tools You’ll Need
- Miter saw or circular saw
- Band saw or jigsaw (for curved cuts on the base)
- Router with roundover bit (for easing edges)
- Router table (helpful but not required)
- Biscuit joiner — or drill and doweling jig as an alternative
- Tape measure and pencil
- Clamps
- Random orbital sander
- Files and rasps (for cleaning up curves)
- Speed square
A Note on Plans
Before you cut a single board, you need a set of plans. The dimensions in this build are specific — the glider mechanism only works when every component is in its correct position. Precise measurements aren’t optional here. A free downloadable plan is available that includes all dimensions for the complete love seat glider. Print it out, keep it at your bench, and refer to it constantly throughout the build.
If you plan to build more than one of these — for a porch set, as gifts, or to sell — consider making templates from your first set of base parts. Once you have accurate templates, you can trace and cut duplicates quickly without re-measuring from scratch every time.
Step-by-Step Instructions
Step 1: Cut Your Base Pieces
The base of the glider is made entirely from 2×4 lumber. Start by cutting two pieces to 24 inches in length — these form the bottom rails of each end unit. You’ll build two identical end assemblies, one for each side of the love seat.
Each end assembly also includes two upright side pieces cut to 9 inches in height. These four pieces (two base rails, two uprights per end) form the core of each base unit.
Cut all pieces square and clean. Label them as you go — left end, right end, top, bottom — so nothing gets mixed up during assembly.
Step 2: Mark the Curved Profiles and Cut
The base pieces aren’t plain rectangles — they have curved ends and a shaped indent along the bottom that give the glider its distinctive look. Use your template (or the plans) to trace the profile onto each base piece, then cut along the line with a band saw or jigsaw.
Take your time on these curves. They don’t have to be perfect off the saw, but the closer you get, the less cleanup you’ll need. After cutting, use a file and sandpaper to smooth all curves until they’re clean and consistent. Work through grits — 80 to 120 to 220 — until the surface feels smooth to the touch.
Step 3: Round Over All Edges with a Router
Once all base pieces are cut and sanded, run every exposed edge over a router table with a roundover bit. This step makes a bigger difference than most beginners expect. Sharp edges on furniture look unfinished and feel uncomfortable — a subtle roundover gives everything a professional, intentional quality.
If you don’t have a router table, a handheld router works fine. Just clamp the workpiece securely and take your time on the curves.
Step 4: Mark Biscuit Locations
This is the most precise step in the base assembly, so work carefully.
On the bottom base rail (24 inches), find the center point (12 inches) and mark it. From center, measure 7 inches in each direction — these marks represent the outside edges of your two uprights. The inside edges fall 3.5 inches from center in each direction.
On the top rail (16 inches for the upper cross member), find center (8 inches) and repeat the same process — 7 inches out from center marks the outside edges of the uprights.
Once your upright locations are marked on both the top and bottom rails, mark your biscuit slot positions at the midpoint of each 2×4 thickness — approximately 1¾ inches in from the face. Mark both the rail and the corresponding upright face so your slots align perfectly when cut.
Step 5: Cut the Biscuit Slots
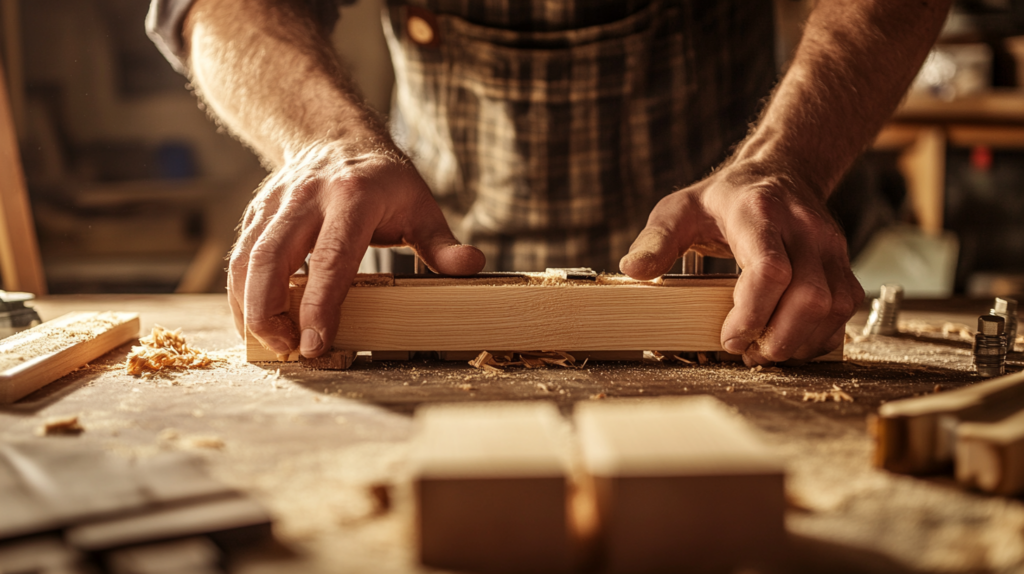
Using your biscuit joiner, cut slots at each marked location on the rails and uprights. Keep the tool firmly registered against the face of the board and cut consistently — any variation in depth or angle will throw off your alignment.
Don’t have a biscuit joiner? Dowels work just as well. Use a doweling jig to keep your holes aligned, and follow the same location marks. A mortise and tenon joint is also an excellent option if you have the tooling — it’s arguably stronger, just more time-intensive to cut.
Step 6: Glue and Assemble the Base Units
With all slots cut, dry-fit the assembly first. Make sure everything comes together cleanly with no major gaps before any glue touches wood.
When you’re satisfied with the fit, apply a thin, even coat of wood glue to each mating surface and into each biscuit slot. Insert the biscuits and bring the assembly together. Apply clamps across the full width of the assembly — enough pressure to close any gaps, but not so much that you’re forcing things out of alignment.
Wipe away any squeeze-out with a damp cloth immediately. Let the assembly sit overnight (minimum 8 hours) before removing clamps or stressing the joint in any way.
Repeat for the second end unit.
📹 Watch the Build in Progress
Before moving on to the seat assembly, watch this video walkthrough of the base build. Seeing the biscuit placement, curve cuts, and clamping technique in real time makes the written steps above much easier to execute.
Pro Tips
- Build both end units at the same time. Cut all your identical pieces in one session so they’re consistent. Two base rails cut together on a stop block are more accurate than two cut an hour apart.
- Make templates if you’re building multiples. Trace your first finished base piece onto ¼” plywood, cut it out carefully, and you have a reusable template. This pays off immediately on the second unit.
- Don’t skip the dry fit. Glue moves fast and clamps create pressure in unexpected directions. Always test the assembly dry before committing.
- Clamp perpendicular, not diagonal. Bar clamps applied at 90° to the joint keep things square. Diagonal clamping introduces twist you won’t notice until the glider mechanism binds.
- Sand before assembly, not after. It’s much easier to sand individual flat pieces than a fully assembled base. Get to 220-grit on all faces before glue-up, then just do a light touch-up after assembly.
- Label everything. With two mirror-image end units, it’s easy to glue the wrong face or flip a piece. A quick pencil mark — “inside face,” “left end” — prevents expensive mistakes.
Frequently Asked Questions
Is this project really suitable for an intermediate woodworker? Yes — with good plans and patience. The joinery is straightforward (biscuits or dowels), and the curved cuts are manageable with a jigsaw even if you don’t own a band saw. The main challenge is precision: the glider mechanism requires accurate placement of all components. Take your time on layout and you’ll be fine.
Can I build this without a biscuit joiner? Absolutely. Dowels work well and require only a drill and a doweling jig. A mortise and tenon joint is stronger still if you have a router or mortising setup. The joint method matters less than accuracy — whatever keeps your uprights in exactly the right position will work.
What’s the best wood for a glider rocker love seat? For indoor use, poplar is affordable, machines cleanly, and takes paint beautifully. Oak is a great choice if you want a natural wood finish. For outdoor or porch use, cedar or treated pine hold up better to moisture and UV exposure.
How long does the base assembly take? Plan for a full shop day for both end units — roughly 4–6 hours of active work, plus overnight for glue to cure. Don’t rush the cure time. A joint that fails under load is much more work to fix than waiting an extra few hours.
Do I need a router table, or will a handheld router work? A handheld router works fine for rounding over edges. A router table just makes it faster and more consistent, especially on curved pieces. If you’re using a handheld, clamp your workpiece securely and use a bearing-guided roundover bit so the cut depth stays consistent.
Where do I find the free plans? The plans referenced in the video are available for free download — check the video description or the creator’s website for the direct link. The dimensions in this article match those plans exactly.
Conclusion
The base assembly is the foundation of the entire glider rocker love seat build — get this right and everything that follows becomes much easier. Two solid end units with accurately placed uprights, well-fitted biscuit joints, and properly rounded edges set you up for a glider mechanism that operates smoothly and a finished piece that looks like it came from a furniture shop.
This project rewards patience. Measure carefully, dry-fit everything, let your glue cure fully, and don’t skip the sanding. The base we’ve built here is just the beginning — the seat assembly and glider mechanism come next, and that’s where this project really comes to life.
Stay tuned for Part 2, where we build the actual love seat that mounts to this base — and the whole thing starts to look like the finished piece it’s meant to become.
Questions about the base build? Drop them in the comments — we read every one.